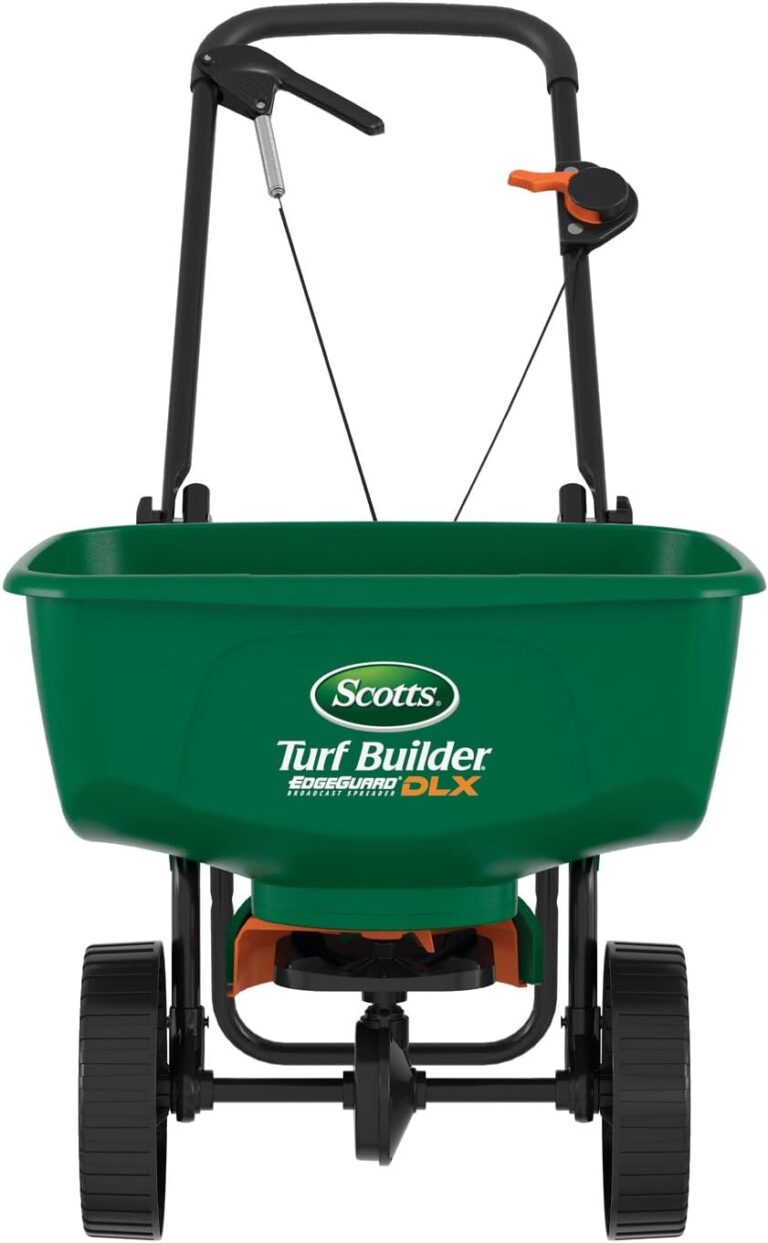
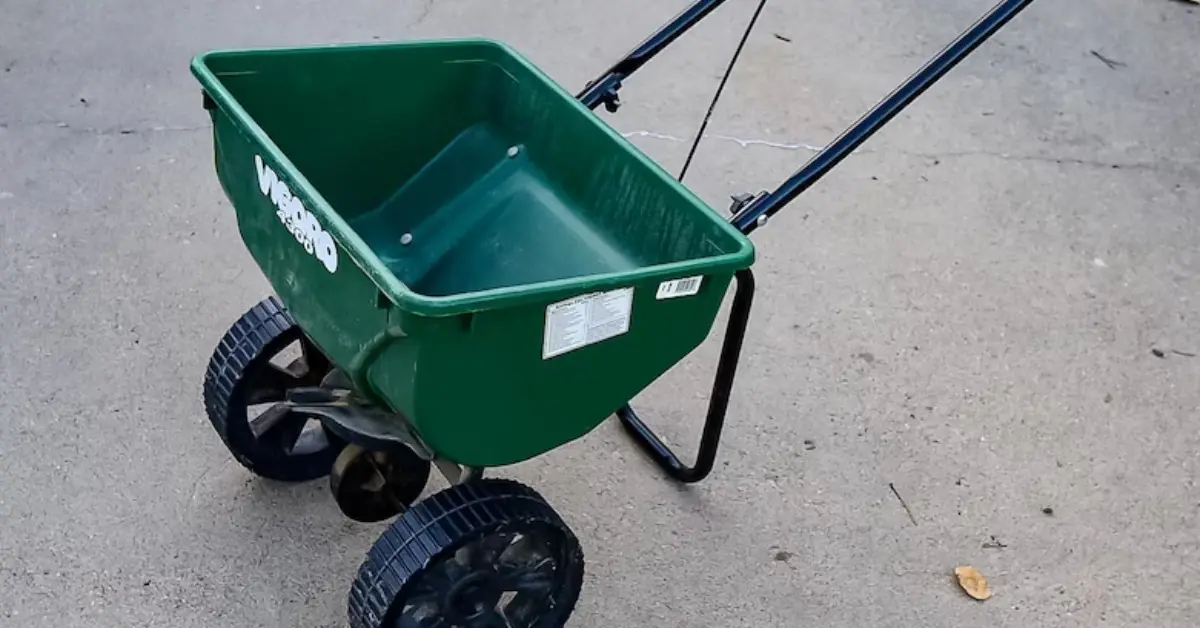
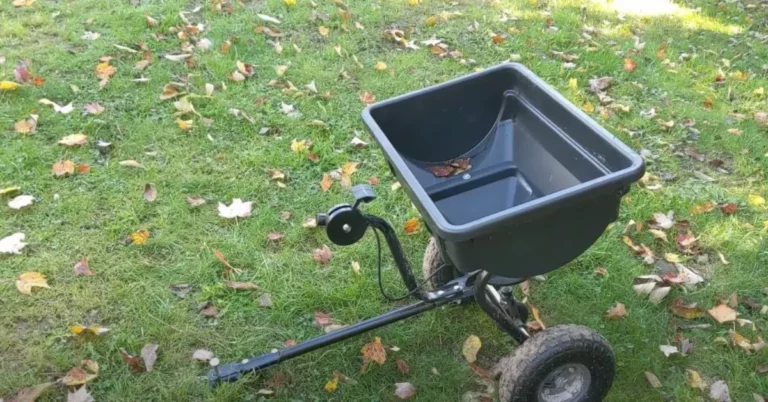
Vigoro Spreader Settings – Tips to Achieve Better Results
If you’re a proud owner of a Vigoro spreader, you already know it’s a great tool for maintaining your lawn and garden.
However, did you know that getting the right Vigoro Spreader setting is crucial for achieving the best results?
How to calibrate the right Vigoro Spreader settings? The best Vigoro spreader setting depends on the type of fertilizer you’re using and the manufacturer’s recommendations.
But in this blog post, I’ll show you how to calibrate your spreader for the right settings.
I’ll talk about the different Vigoro spreader settings, what they mean, and how to set your spreader to get even coverage and a healthy lawn.
Importance of Right Vigoro Spreader Settings
Here are some reasons why using the right Vigoro spreader settings is important.
1. Prevent Under-fertilizing or Over-fertilizing
Using the wrong spreader setting can lead to under-fertilizing, so your lawn may need more nutrients to thrive.
On the other hand, over-fertilizing damages the root system. Both scenarios can result in an unhealthy lawn and wasted money on fertilizer.
Hence, proper Vigoro spreader settings ensure the safety of your lawn.
2. Prevent Uneven Application
Using the wrong Vigoro spreader setting can cause uneven application. Otherwise, you may end up with sections of your lawn that are greener than others, making it look patchy and unappealing.
The right spreader setting ensures that the fertilizer is distributed uniformly and evenly.
3. Save Time and Money
Using the right Vigoro spreader settings can save you time and money.
Applying the correct amount of fertilizer in one pass means you don’t have to go over the same area multiple times, saving time and reducing the amount of fertilizer needed.
Moreover, when you use the right spreader setting, you avoid wasting fertilizer, which is good for your wallet and the environment.
Also Read: EdgeGuard Mini Spreader Settings (Step-by-Step Guide)
4. Achieve Desired Results
Achieving the desired results requires the proper application of the fertilizer. If you want a lush, green lawn, use the right Vigoro spreader settings for that specific type of fertilizer.
For example, if you want to promote root growth, apply the fertilizer in a different setting than if you encourage leaf growth.
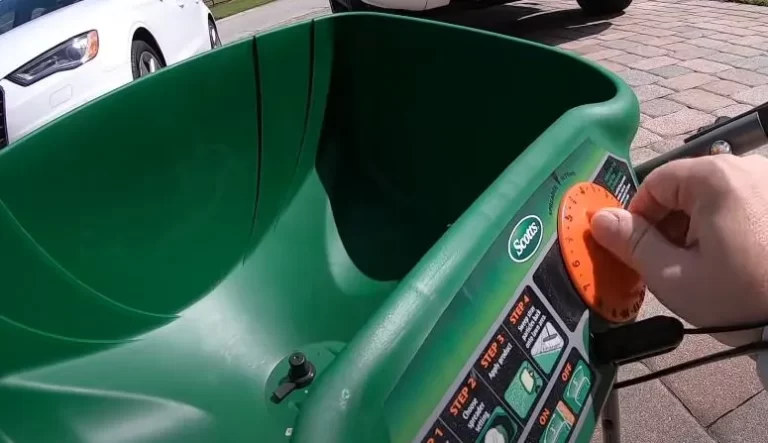
Understanding the Vigoro Spreader Settings
Before you start setting your spreader, look at the manual accompanying it.
Most manuals will include instructions on setting the spreader and a recommended setting for different fertilizers and grass seeds.
The settings on your Vigoro spreader will typically range from 1-10 or 1-20. The higher the number, the greater the material spread per square foot.
Setting Your Vigoro Spreader
Once you’ve consulted your manual and found the recommended settings for your materials, it’s time to set your spreader.
- Begin by pouring the selected material into the hopper.
- Next, position your spreader above a firm surface like a sidewalk or driveway.
- Turn the spreader’s flow rate adjustment knob to the lowest setting.
- Next, select the recommended setting on your spreader for your material.
Now you’re ready to start spreading. Move the spreader across your lawn horizontally or vertically, making sure to overlap slightly with each pass.
If you’re using fertilizer, water your lawn thoroughly afterward to ensure your fertilizer gets soaked into the soil.
Also Read: Scotts Edgeguard Spreader Settings? (Best Settings 2023)
Vigoro Broadcast Spreader Settings: Useful Tips for Better Results
1. Choose the Right Fertilizer
Before using your Vigoro broadcast spreader, choose the right fertilizer for your lawn. Different types of fertilizer require different spreader settings.
Knowing the type of fertilizer you’re using will help you set the right spreader setting.
2. Calibrate Your Spreader
Accurately calibrating your Vigoro broadcast spreader is essential for correct fertilizer application.
Calibration requires measuring the spreader’s fertilizer output in a particular area.
You can adjust the spreader setting to apply fertilizer to your lawn.
Proper calibration will prevent over-fertilizing, which can damage your lawn, or under-fertilizing, which can lead to an unhealthy lawn.
3. Adjust the Spreader Settings
Adjusting the spreader settings correctly is key to achieving the desired results. The spreader settings are determined by the fertilizer type, lawn size, and the manufacturer’s guidelines.
Consult the fertilizer bag or the spreader’s manual if you need clarification on the correct setting.
Setting the spreader correctly will ensure that the fertilizer is applied evenly, avoiding patches of under-fertilized or over-fertilized areas.
4. Check the Weather
Checking the weather before fertilizing your lawn is essential. You don’t want to fertilize your lawn during a rainy day as the fertilizer will get washed away before it has a chance to penetrate the soil.
Additionally, windy conditions can make it difficult to apply the fertilizer accurately, leading to uneven application.
Therefore, choose a calm day with little wind and no rain in the forecast to ensure a successful application.
Also Read: Agri-Fab Spreader Settings Chart – Complete Guide
How To Calibrate Spreaders: Apply The Easiest Method
Proper calibration will prevent over-fertilizing or under-fertilizing, leading to an unhealthy lawn. Here is a guide on calibrating your spreaders using the easiest method.
What You’ll Need:
- Fertilizer
- Measuring tape
- A marker or tape
- A scale
- A spreader
Step-by-step Guide:
- Choose a small, flat, and level lawn area to test your spreader.
- Ideally, the test area should be about 100 square feet.
- Use a measuring tape to measure a 10 x 10-foot square in the test area. Mark the corners of the square with the marker or tape.
- Weigh out a known amount of fertilizer to cover the 100 square feet test area at the recommended rate. For example, if the recommended rate is 1 pound per 100 square feet, weigh exactly 1 pound of fertilizer.
- Fill your spreader with the weighed fertilizer.
- Set your spreader’s opening according to the manufacturer’s recommended spreader setting for the type of fertilizer you’re using.
- Walk comfortably and apply the fertilizer to the test area within the marked square. Cover the entire area with the fertilizer.
- After applying the fertilizer to the test area, weigh any remaining fertilizer to determine the exact amount of fertilizer applied.
Also Read: What’s the Right STA Green Spreader Settings?
Frequently Asked Questions (FAQs)
What Setting Should My Vigoro Spreader Be On?
The spreader setting for your Vigoro spreader depends on the type of fertilizer you’re using and the manufacturer’s recommendations.
Consult the fertilizer bag or the spreader manual for the recommended setting.
How Much Should I Overlap Passes with a Broadcast Spreader?
Overlap passes by 6-12 inches when using a broadcast spreader. This ensures even coverage and prevents under-fertilized or over-fertilized areas.
How Do You Use a Vigoro Spreader?
To use a Vigoro spreader, first, fill it with the recommended amount of fertilizer.
Then, set the spreader opening to the recommended setting and walk steadily, spreading the fertilizer consistently.
Avoid stopping or starting abruptly to prevent over-applying or missing spots.
Conclusion
By following these tips and understanding the different Vigoro spreader settings, you’ll be able to achieve even coverage and a healthy lawn every time.
Remember to take your time and adjust your settings as necessary, and always consult your manual and label instructions.
With a little practice, you’ll become a pro at using your Vigoro spreader, and your lawn will thank you.
![What’s the Best Weed Eater String Size [How to Select the Right One]](https://yardcurator.com/wp-content/uploads/2023/02/Best-Weed-Eater-String-Size-How-to-Select-768x499.webp)
![Why Stihl Weed Eater Won't Stay Running [Reasons & Solution]](https://yardcurator.com/wp-content/uploads/2023/05/Why-Stihl-Weed-Eater-Wont-Stay-Running-.webp)